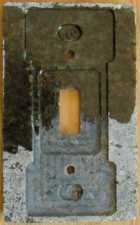
I have been involved in manufacturing for 16 years, the first 8 years as a tool and die maker and then a machinist in a cnc machine shop. It is with this background that I design and make our switch plates. The pockets on the backside of the switch plates are just large enough to accommodate the different fixtures in an attempt to leave as much stone as possible. As nice as the front of the switch plate looks the backside is where all of the work is and the most important as far as how well it fits.
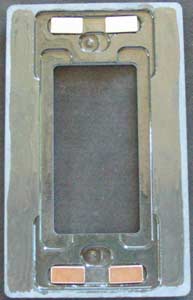
Backside of a magnetic slate switch plate. The work is the same for screw on plates minus the pockets for the magnets.
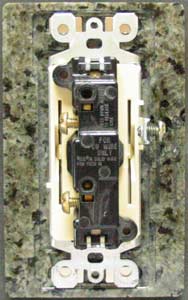
Here we have a standard GFI/Rocker switch. The pocket is sized for the extra large frames of dimmer switches.
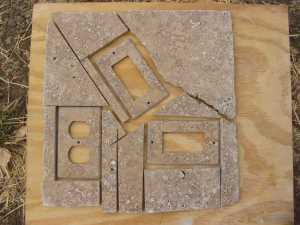
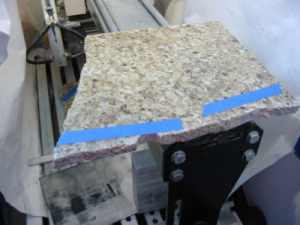
This photo shows one of the reasons why we ask for extra stone. Normally we can get 8 switchplates from a 12" tile but were hard pressed to get 3 from this one.
The first step is to cut up the stone for your switch plates into the correct size of blanks. We mark any scratches or flaws that we need to cut around.
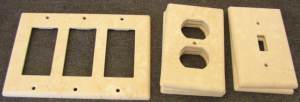
Here is what an order looks like when it is ready to go to the router.
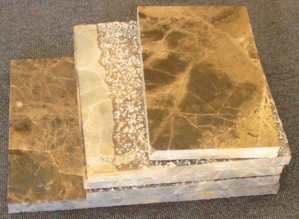
After the stone switch plates are routered out we bake them at 140 degrees to remove any moisture in preparation for the penetrating epoxy. We then apply the epoxy and put them back in the oven for several hours to fully cure. We can not say enough about the epoxy. Making stone switchplates is doing a lot with a small piece of stone and for some stones the epoxy is a requirement. With the epoxy we can make switch plates from any stone, no matter how fragile.

